At Home Hair 101: High Bun
Hey beautiful people!
Are you getting tired of looking like a crazy person walking around your house? Not feeling the motivation to blow dry your hair? Or even wash it?
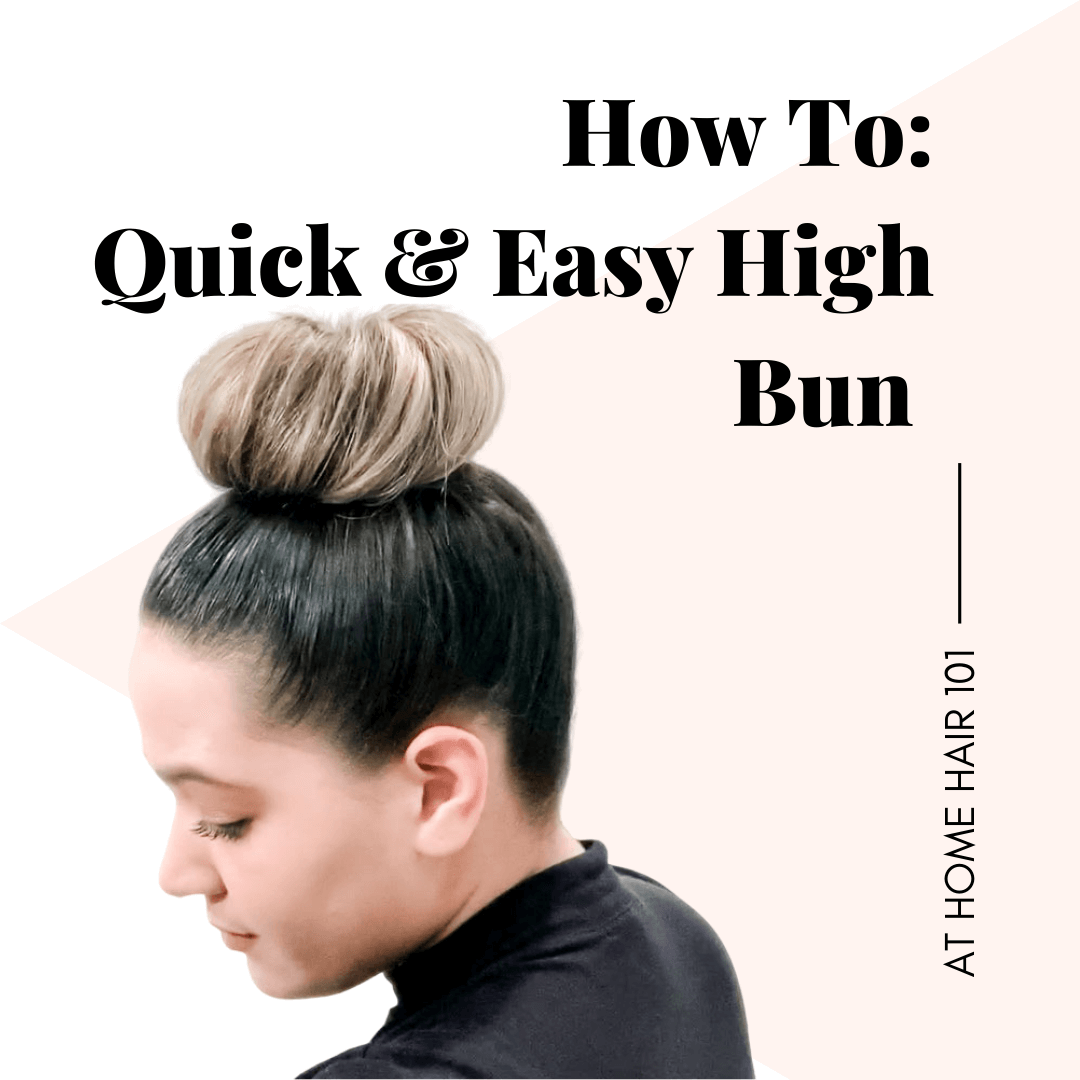
I have the perfect hairstyle that solves this problem: a simple high bun that takes under 10 minutes to create. You don’t need to wash it and it makes you look like you are ready to go out for dinner (in your living room). This is a great pick-me-up style!
Watch my how-to video and read below for an in depth description of the steps. Get pretty with me! 🌟
Step 1: Don’t wash your hair
Starting with “Day 2 hair” adds more grit & texture to the style. Using a Sam Villa Paddle Brush, detangle your hair until it is completely smooth. This will be best for keeping control while styling your hair.
Step 2: Prep with dry shampoo
Next, you guessed it, grab your favorite dry shampoo! My tried and true go-to is Redken Deep Clean Dry Shampoo. Even though I have dark hair, this particular brand of dry shampoo doesn’t leave residue after I spread it around with my fingers and brush through it. Impressive, I know. Prepping your hair for an updo of any kind with dry shampoo is important for volume.
With that said, grab a section of hair and spray dry shampoo upward, underneath the section of hair, directly at the root. Before you start, shake that bottle! You’ll want to dry shampoo all sections of hair from the crown of your head upward. Once you’ve dry shampooed all of the roots, distribute the dry shampoo using your fingers, just shake it around a bit. You’ll notice that shaking the root of your hair where you just sprayed dry shampoo is key to getting the most volume from your dry shampoo. So, now that your hair looks oil-free but a bit bed head-y from working around the dry shampoo, time to detangle hair for a second time.
This time, as you’re detangling (still using your paddle brush), pay attention to making sure your newly applied dry shampoo is evenly distributed around the head.
Step 2: Prime your hair to look ultra-sleek
Now that my hair is detangled, I use Redken No Blow Dry NBD Bossy Cream to help tame flyaways and provides added control while you’re styling. Mix a quarter size of NBD in your hands and apply to the hairline & back of the head. My hairline and nape area (back of head) have many flyaways so this product is essential for me.
Step 3: Create the blueprint for your bun
Pull all of your hair up into a ponytail using your fingers. Set your ponytail as high as you want your bun to rest on your head. Now, add Pureology Soft Finish Hairspray all around. I personally focus on the hairline and back of head to give an extra hold.
Step 4: Smooth and tie hair into a high ponytail
Grab a Finishing Brush - my favorite is the Sam Villa Artist Series Finishing Brush to guarantee control and smoothness. Brush all the hair into your hand, starting in the front and then smooth out the back. Feel out for any bumps using your hand and smooth them out by brushing again. Create a ponytail using an elastic hair tie. Add a second hair tie to make sure it’s secure. We’ll use this second hair elastic to help us hide any stray ends of hair sticking out of the bun (read on to find out how!).
Step 5: Twist your high ponytail into the desired bun shape
Add Redken Deep Clean Dry Shampoo to the ponytail to add volume to the hair that we’ll use for the bun. And then, you guessed it, detangle! Once we’re detangled we’ll grab the ponytail and start to twist and form a bun in the same direction as we’re twisting. Tuck any ends that are sticking out into the bun by securing them into the second hair elastic.
Step 6: Finish with hairspray
Add Pureology Soft Finish Hairspray all around to clean up any flyaways. Take a look at the back of your hair with a mirror and play around with it until it looks the way you want. Have fun with your high bun! Scrunch it, twist it some more and tuck away any extra pieces that are sticking out.
Products and tools for creating a salon-quality high bun
Here’s the full list of tools and products I used to create this super sleek and easy look:
1 or 2 elastic hair ties
Good luck styling your own high bun and leave any questions you have below! Tag me in your photos if you recreate this look! I would love to see them!
Kisses, Tatiana ❤️


